
How can media buyer earn from push traffic?
We receive a lot of questions from webmasters who are still beginners, about ways of starting to receive traffic to our landings with push notifications subscriptions and hence, in our today’s article we will discuss in details all stages of dealing with traffic monetization from our push notifications subscriptions, starting from registration at the platform and up to creation of direct links to landings with subscription to push notifications.
Contents
1. Registration at the Platform
2. Creation of Advertising Links
3. Payouts Receipt
Registration at the Platform
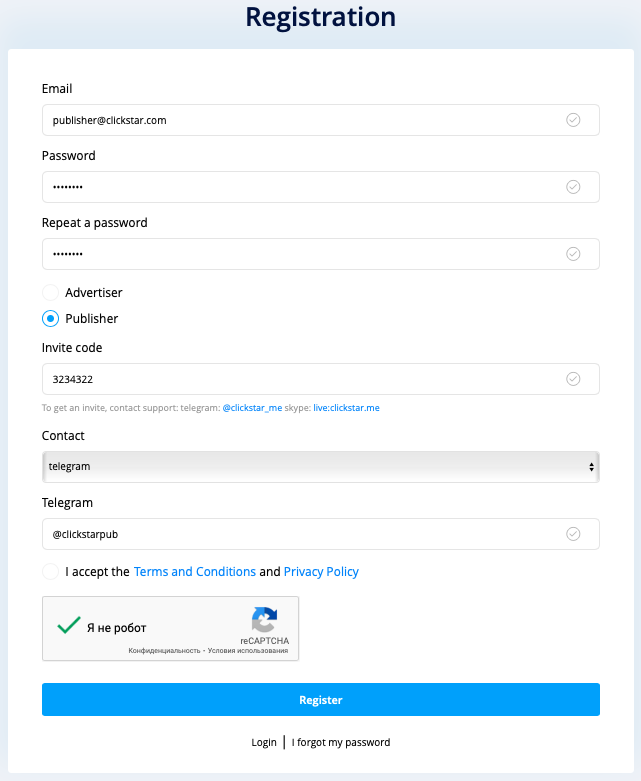
In order to monetize your traffic, it is required to register in the system as Webmaster, which can be done by clicking “Yes, I want to register” button at the main page. At the next page, you are required to fill up all required fields and press “Register” button. You can request for registration invitation from your personal manager (Telegram @clicknik, Skype live:.cid.baed75d9716ff1cb).
Template of filling up the registration form:
Creation of Advertising Links
In order to generate your first link for traffic monetization, it is required to access the “Direct Links” section and press “Add a Link” button:

After that, you will see interface of your link settings:
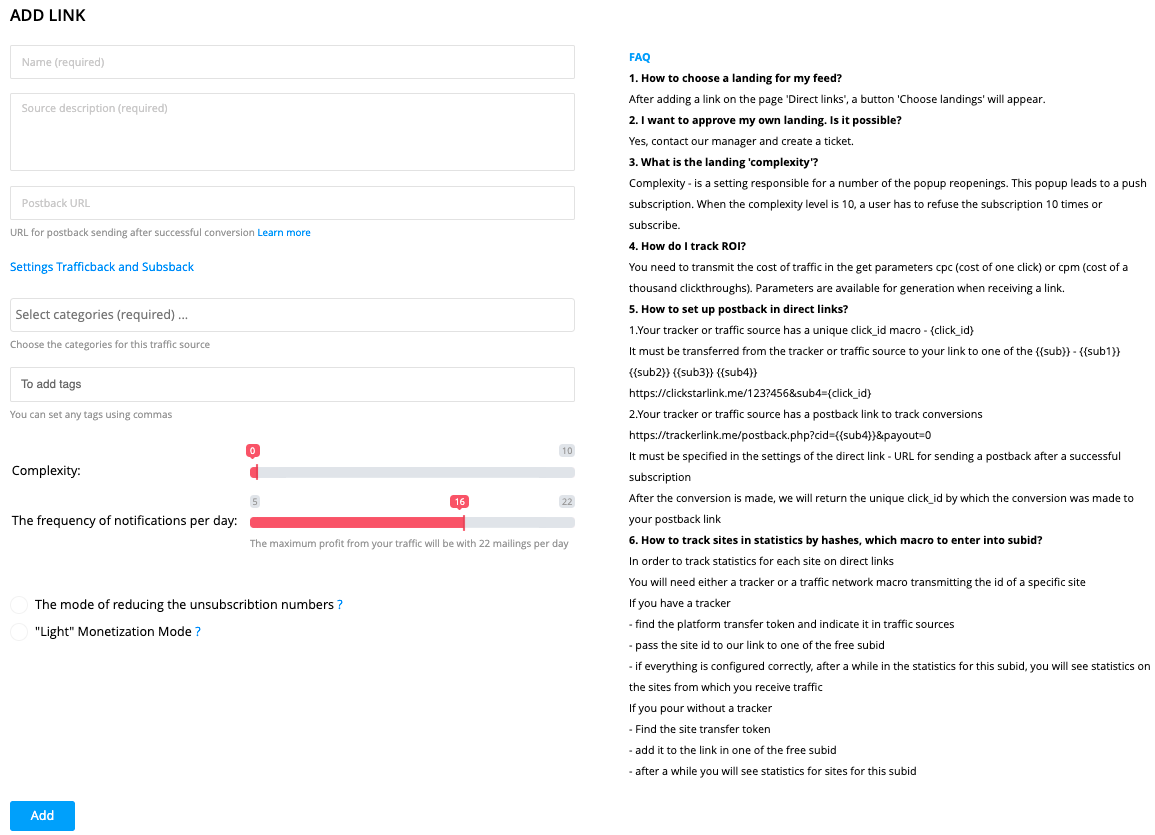
Next, you are required to provide the campaign name, description of traffic source (e.g., Popunder traffic from the advertising network Popads) and Postback URL, if that is necessary.
In order to set Postback URL, you are required to transfer the unique click identifier from your tracker into our system in one of available parameters sub1, sub2, sub3 or sub4. For example, link to our landing in Bemob tracker should look like this:
https://ourdomain.com/?p=g43wmmbtme5gi3bpgyzdony&sub1={clickid}
Whereas Postback URL for Bemob looks like this:
https://yourtrackerdomain.bemobtrcks.com/postback?cid={{sub1}}
Postback can be set in a similar manner for any other tracker – all you need is to replace the macros, which are used in your tracker.
Next, if necessary, set Trafficback URL and Subsback URL. Trafficback URL — is a URL for redirecting the unfit traffic, whereby Subsback URL — is a URL for redirecting users after successful subscription. These fields are very important, since they help to significantly increase ROI of your future ads campaigns at expense of additional monetization of your traffic. You can use any offers for additional monetization, except for Push Subscriptions, Adult and Malware.
Next, you are required to select a category of your traffic. If you receive traffic from advertising networks, then you can specify “Internet” category.
After that, you can add various tags for your link. Tags will be displayed next to the name of your link inside the list of all your advertising links.
Furthermore, you need to set the “Difficulty” parameter. Difficulty – is a parameter responsible for number of repetitive openings of push notifications subscription window. Difficulty level of 10 requires user to deny the subscription 10 times, or subscribe. The higher difficulty level, the higher chance you get to receive user’s subscription to your link.
Next, you are required to set the number of mailing lists per day for your users. By default, this parameter is set at 16 mailing lists per day, but you can increase it up to 22 mailing lists. The more mailing lists will be received by users, the higher income you get.
Next, you can activate the following 2 parameters: “Reduction of unsubscribed users mode” and “Soft monetization mode”. Reduction of unsubscribed users mode optimizes the ads display for reduction of unsubscribed users, whereas “soft” monetization mode filters out the “hardest” ads for your subscribers. We do not recommend you to activate these modes, if you are monetizing the traffic from other advertising networks, since both modes significantly reduce the profitability of your traffic.
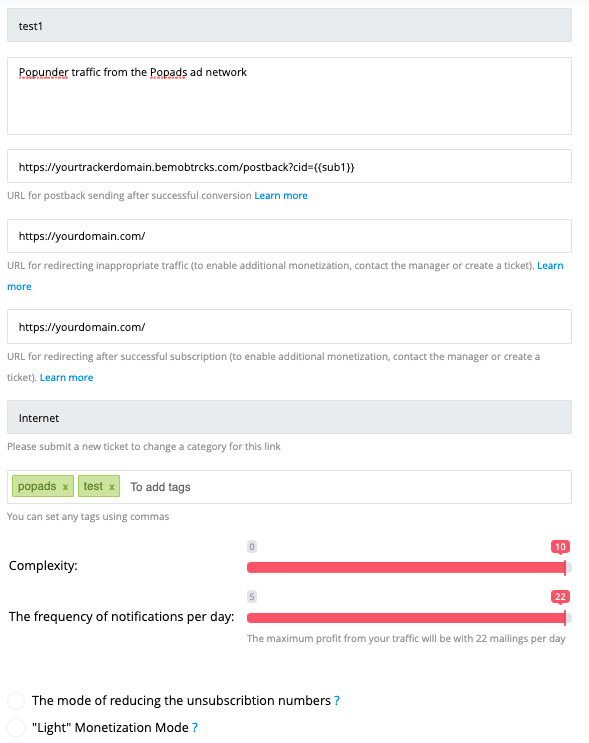
Example of correctly filled form of advertising link settings:
Afterwards, press “Add a link” button and you advertising link will proceed to moderation. You can track the moderation status in the following section https://clickstar.me/directlinks:

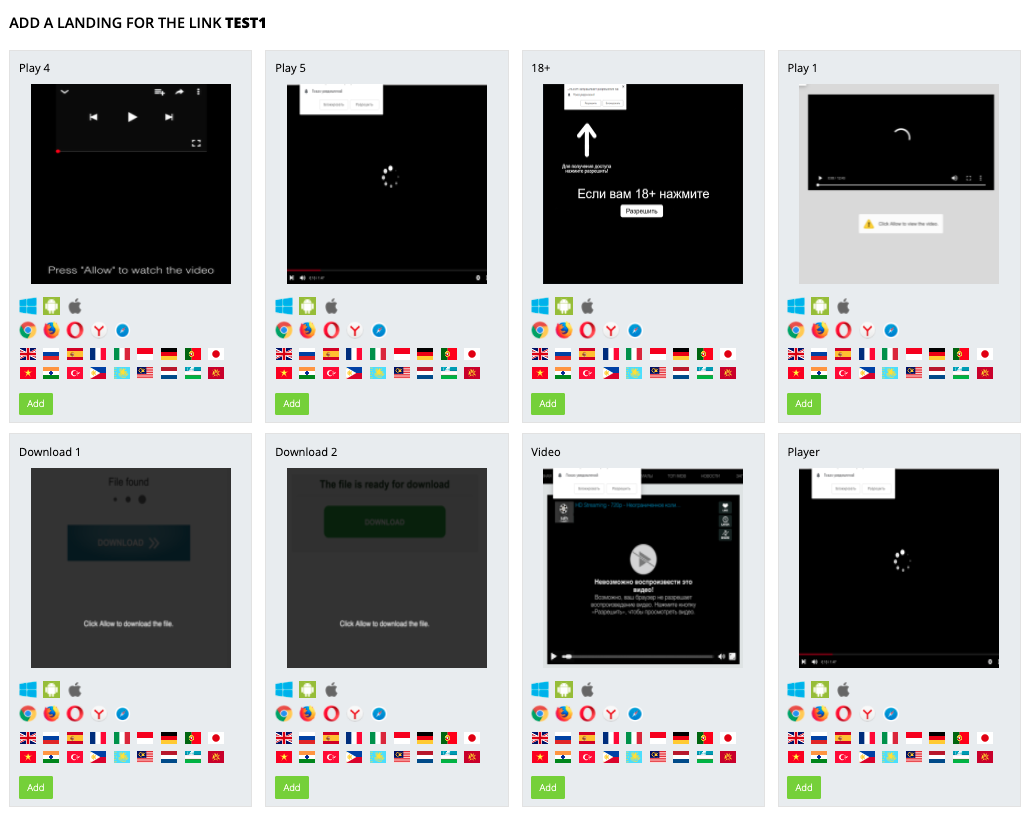
Once your link has been approved, you are required to select the landings that you will be advertising, by pressing “Choose Landings” button at the following webpage https://clickstar.me/directlinks:

Press “Choose landings” in newly opened webpage and select the landing suitable for you out of the provided list and press “Add”:
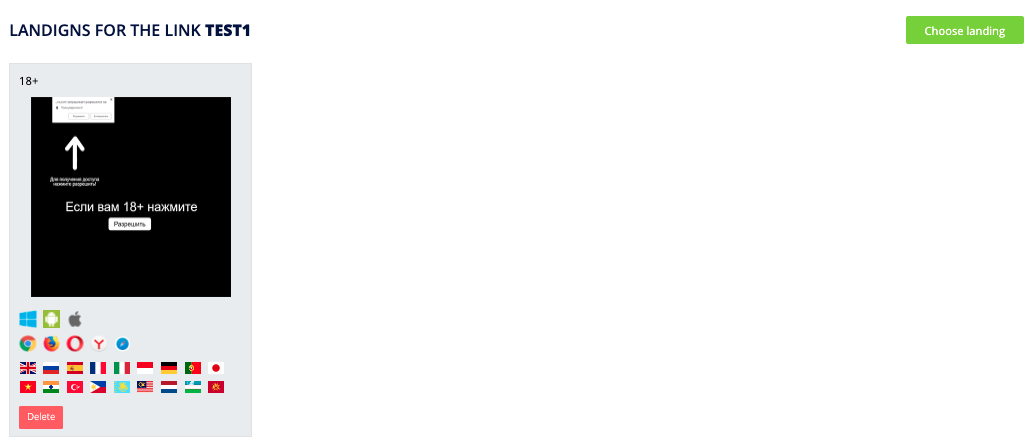
After that, you can save your settings by pressing “Save” button, or add a few more landings inside this hyperlink. When selecting several landings, the traffic will be uniformly distributed across all landings.
Now everything is set to generate the first hyperlink. Press “Get a link” button to get it:

You are required to set the parameters for your advertising link in the newly opened webpage. These parameters can be used in 2 ways:
1) You monitor the statistics inside the tracker
2) You monitor the statistics inside our system
In first case, you are required to specify click id macro for your tracker in order to ensure proper functioning of Postback. Refer to example below:
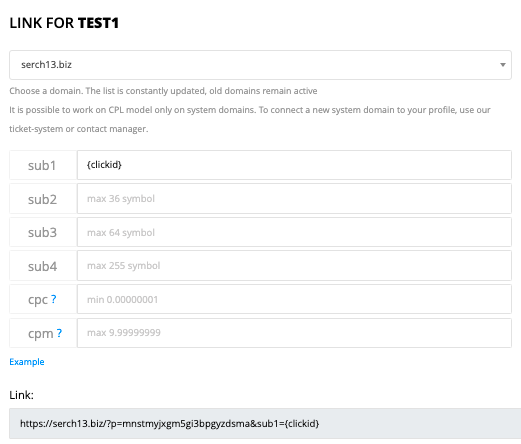
After that, you can copy your link
— https://ne01.biz/?p=mnstmyjxgm5gi3bpgyzdsma&sub1={clickid}.
In the second case, whereby you use tracker, it is required to specify the macros from the advertising network where you plan to advertise this hyperlink. In addition, we recommend you to specify CPC or CPM from this advertising network in order to enable the calculation of ROI for your campaigns. Example of complete macros for advertising network Popads:
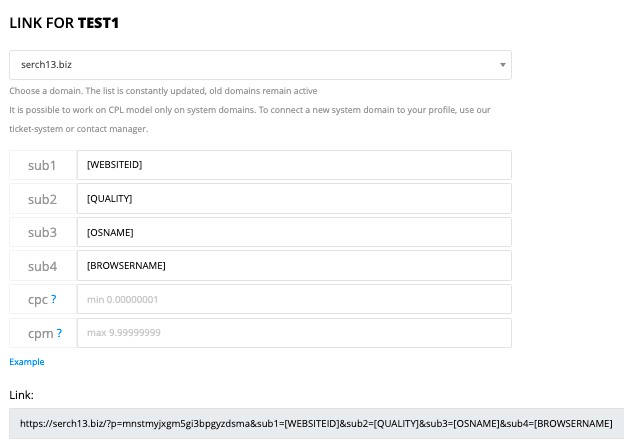
After that you can copy your hyperlink — https://ne01.biz/?p=mnstmyjxgm5gi3bpgyzdsma&sub1=[WEBSITEID]&sub2=[QUALITY]&sub3=[OSNAME]&sub4=[BROWSERNAME]
All set! You have just generated your first advertising links and can launch your traffic.
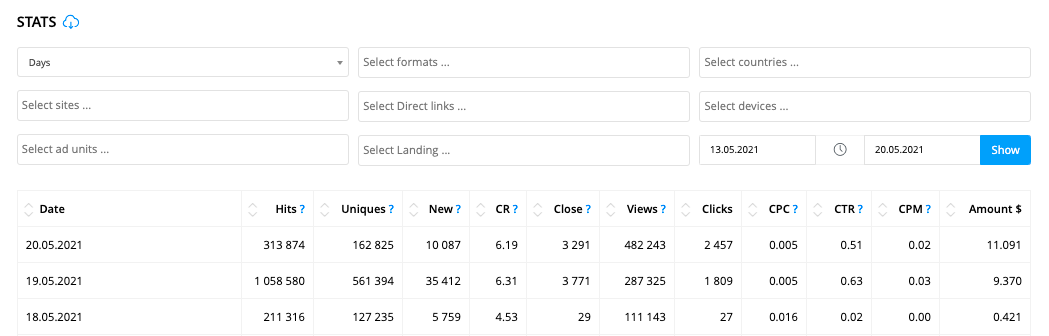
You can monitor the complete statistics of your traffic in the following section https://clickstar.me/publisher/stat.
Example of statistics can be found below:
Payouts Receipt
All actual and available pay methods to receive the payouts, can be found at the following webpage https://clickstar.me/payments. At the moment of completing this article, there are following pay methods available in your personal account:
— Webmoney WMZ
— Capitalist USD
— Paxum USD
— PayPal USD
— QIWI RUB
— ЮMoney RUB
— Visa / Mastercard
— Advertiser balance
In order to receive the payout, you are required to provide your personal pay details at the following webpage https://clickstar.me/payments/request and then, prepare payment request at the following webpage https://clickstar.me/payments.
All payment requests are processed on daily basis. If you have recently started working with us, we maintain the right to have a short hold of your payout in order to verify the traffic quality. Payment will be completed once we make sure that you traffic is not fraudulent. Any type of fraud is not subject to payment.
In case if you have any additional questions, please do not hesitate to leave us comments and will do our best to help you!